Using the customizer to edit your page
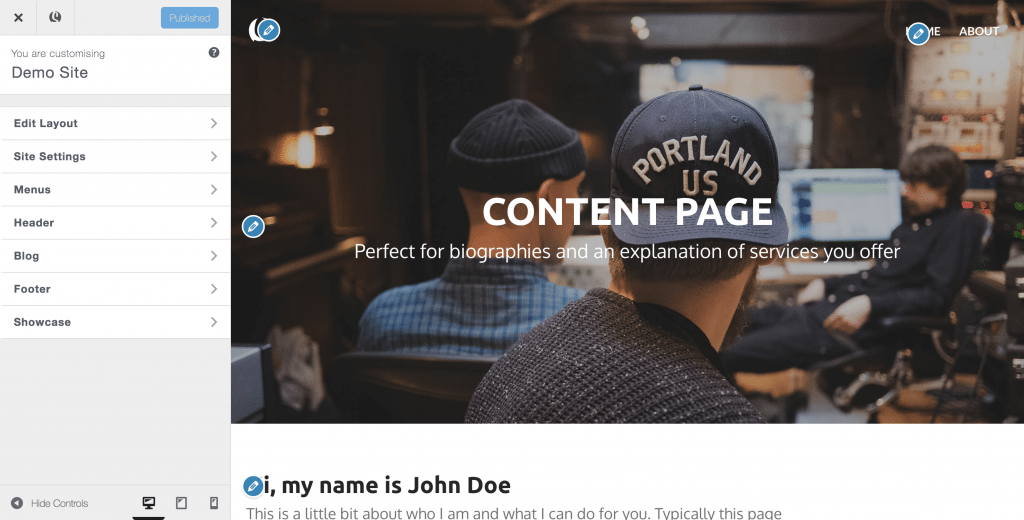
Say hello to the customizer! It’s going to become your best friend whilst you build your website. The Customizer allows you to add widgets to your page and edit them to look and feel how you want them to.
What is a widget? I hear you say! Widgets are design elements, such as text content, a slider, a twitter feed or a contact form that can be extensively stylised to suit your branding.
By now, you have most likely created your first page using one of our pre-built templates and are ready to start editing the content to make it unique to you and your business. Let’s begin with the basics of editing using the customizer.
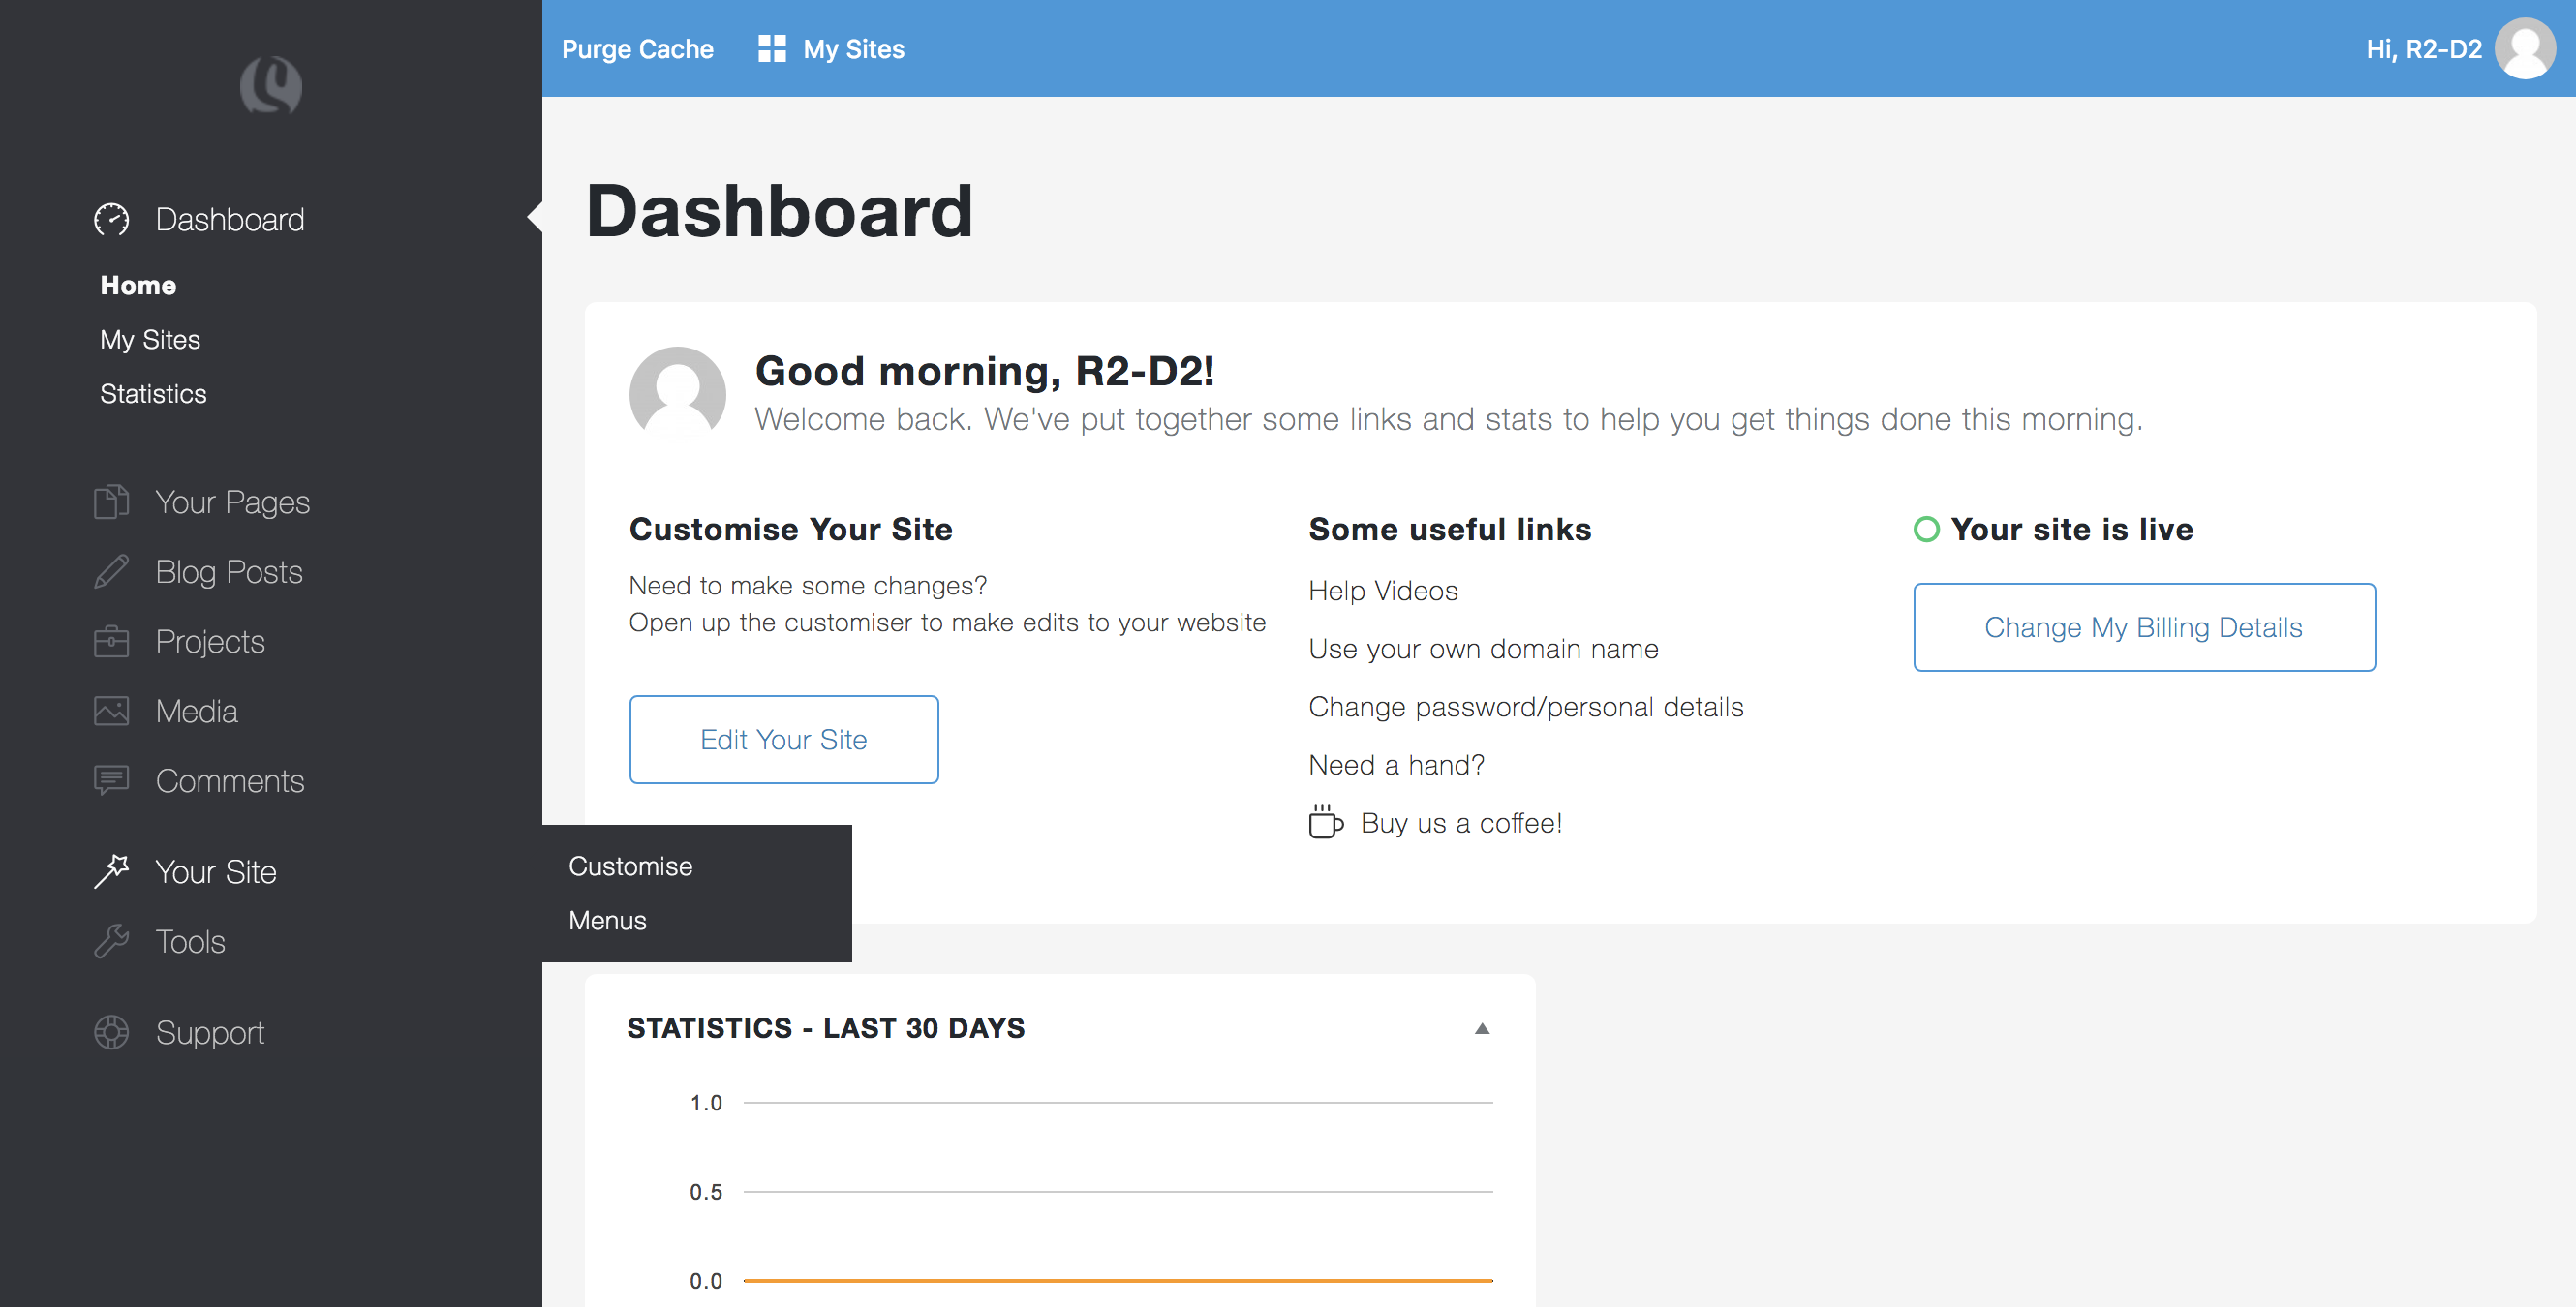
- If you haven’t already opened the customizer, head over to your dashboard, hover over Your Site and select Customize
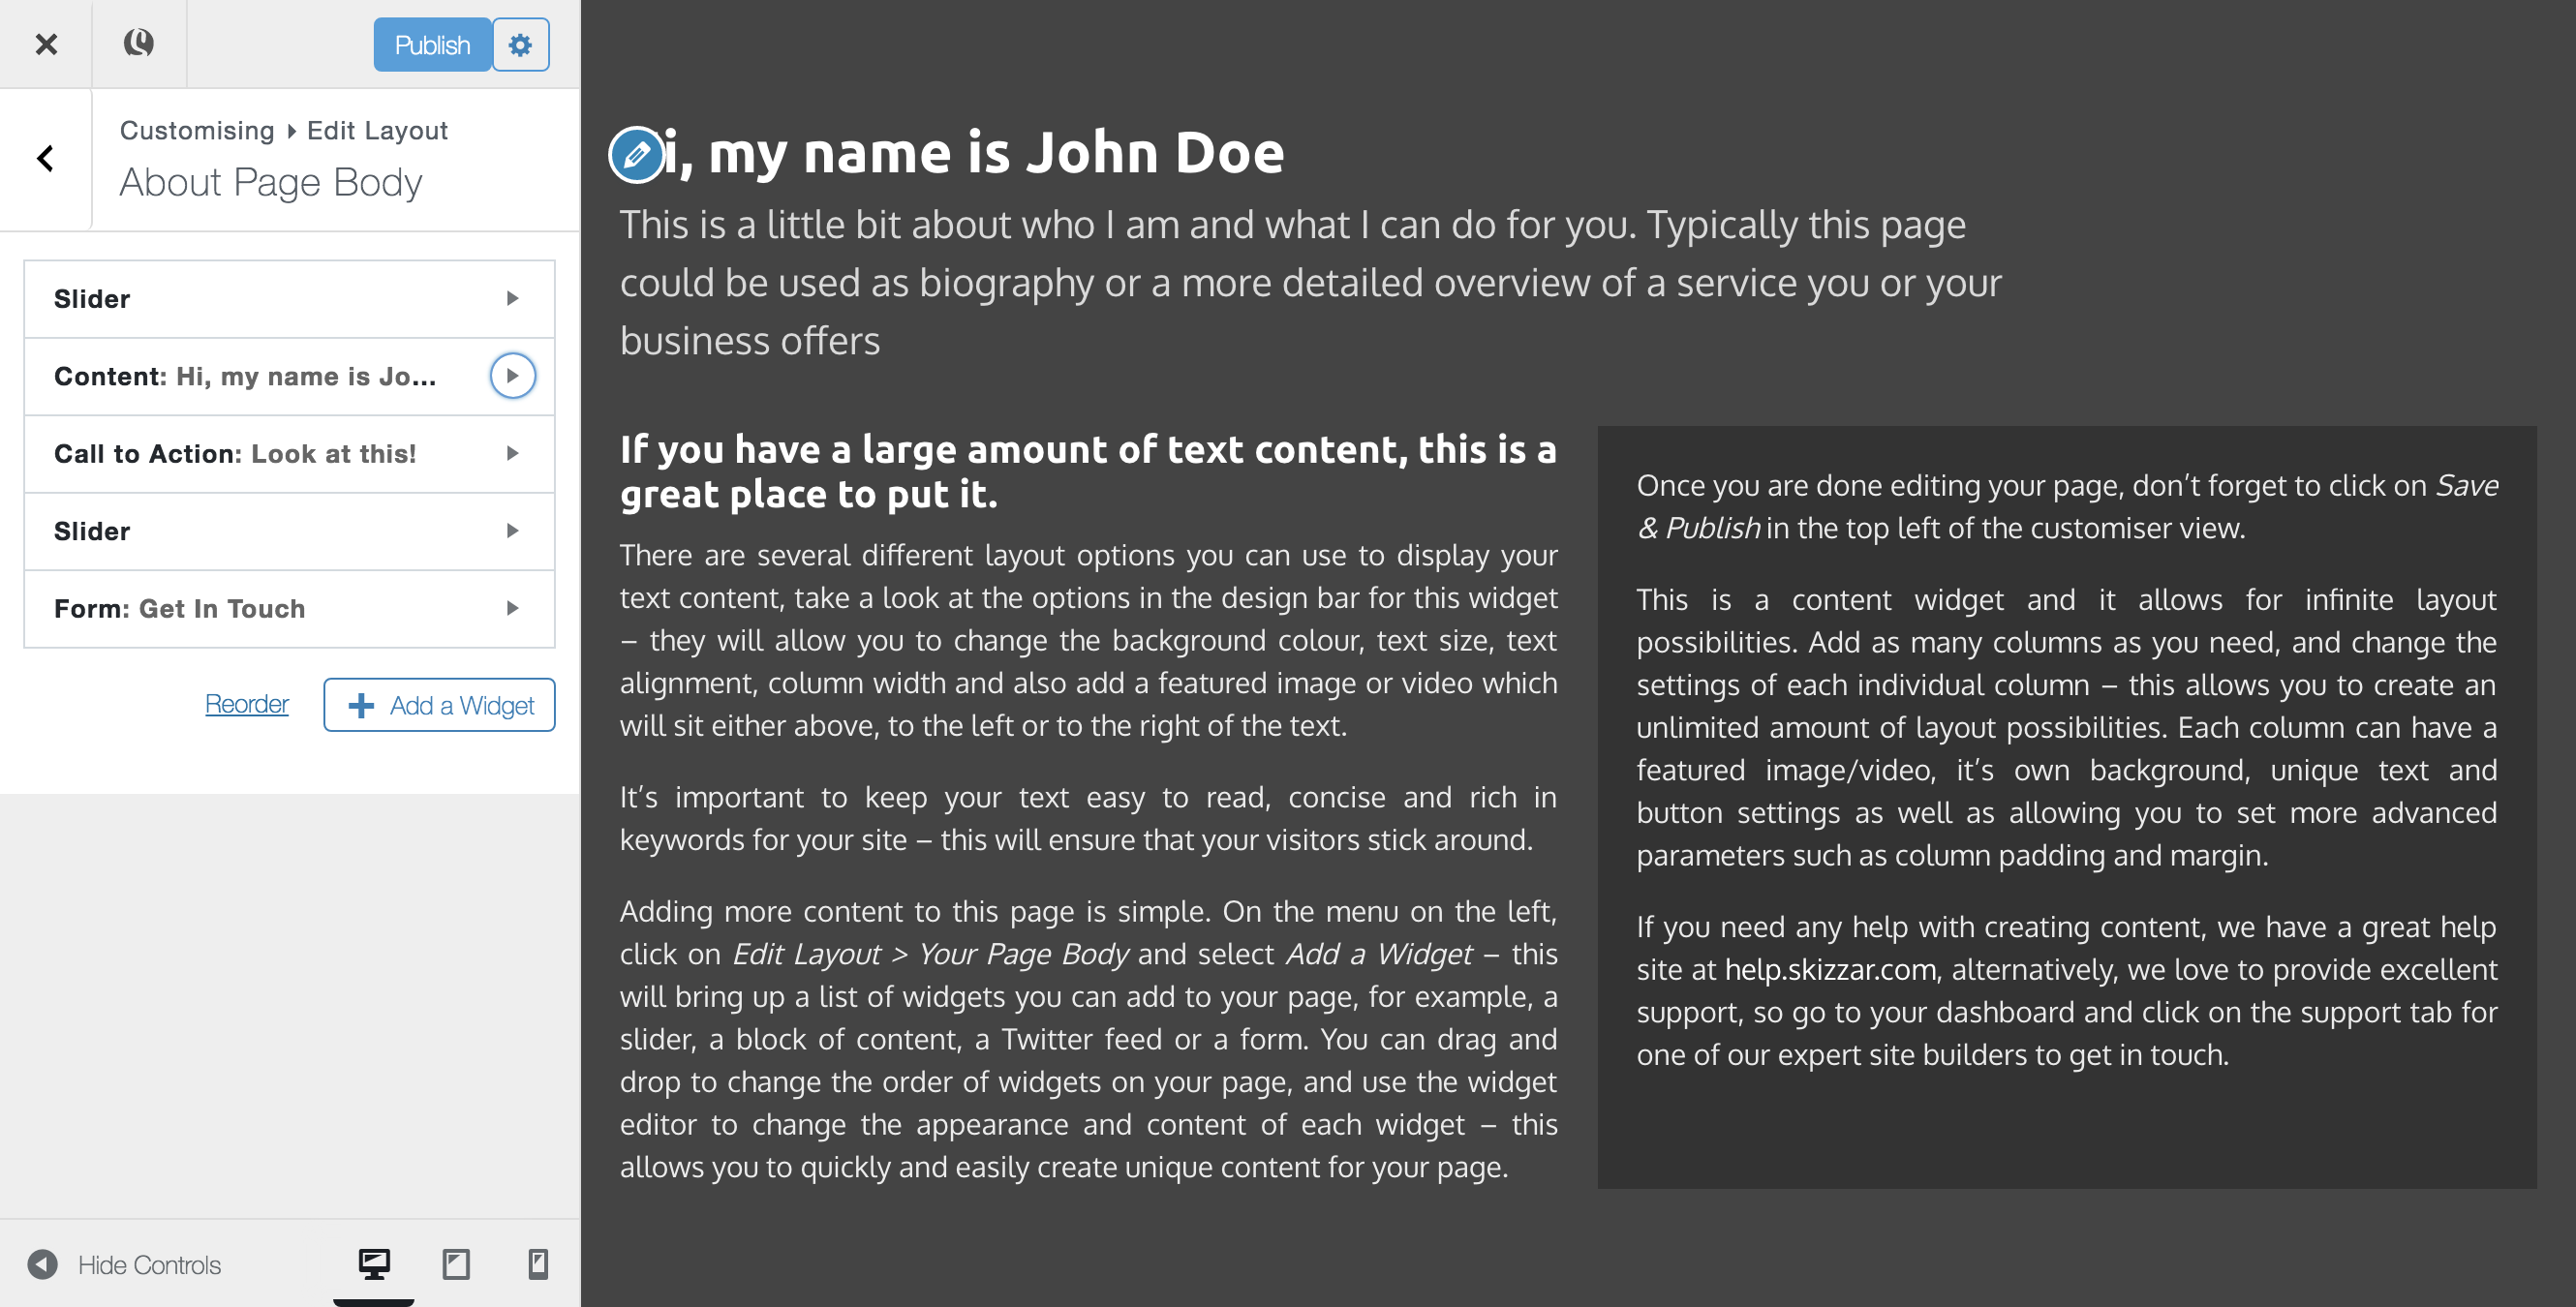
- If you are using one of our pre-built templates, your page will already be populated with widgets that are ready to edit. If you are using a blank template or wish to add more widgets, check out this article on adding widgets to your page.
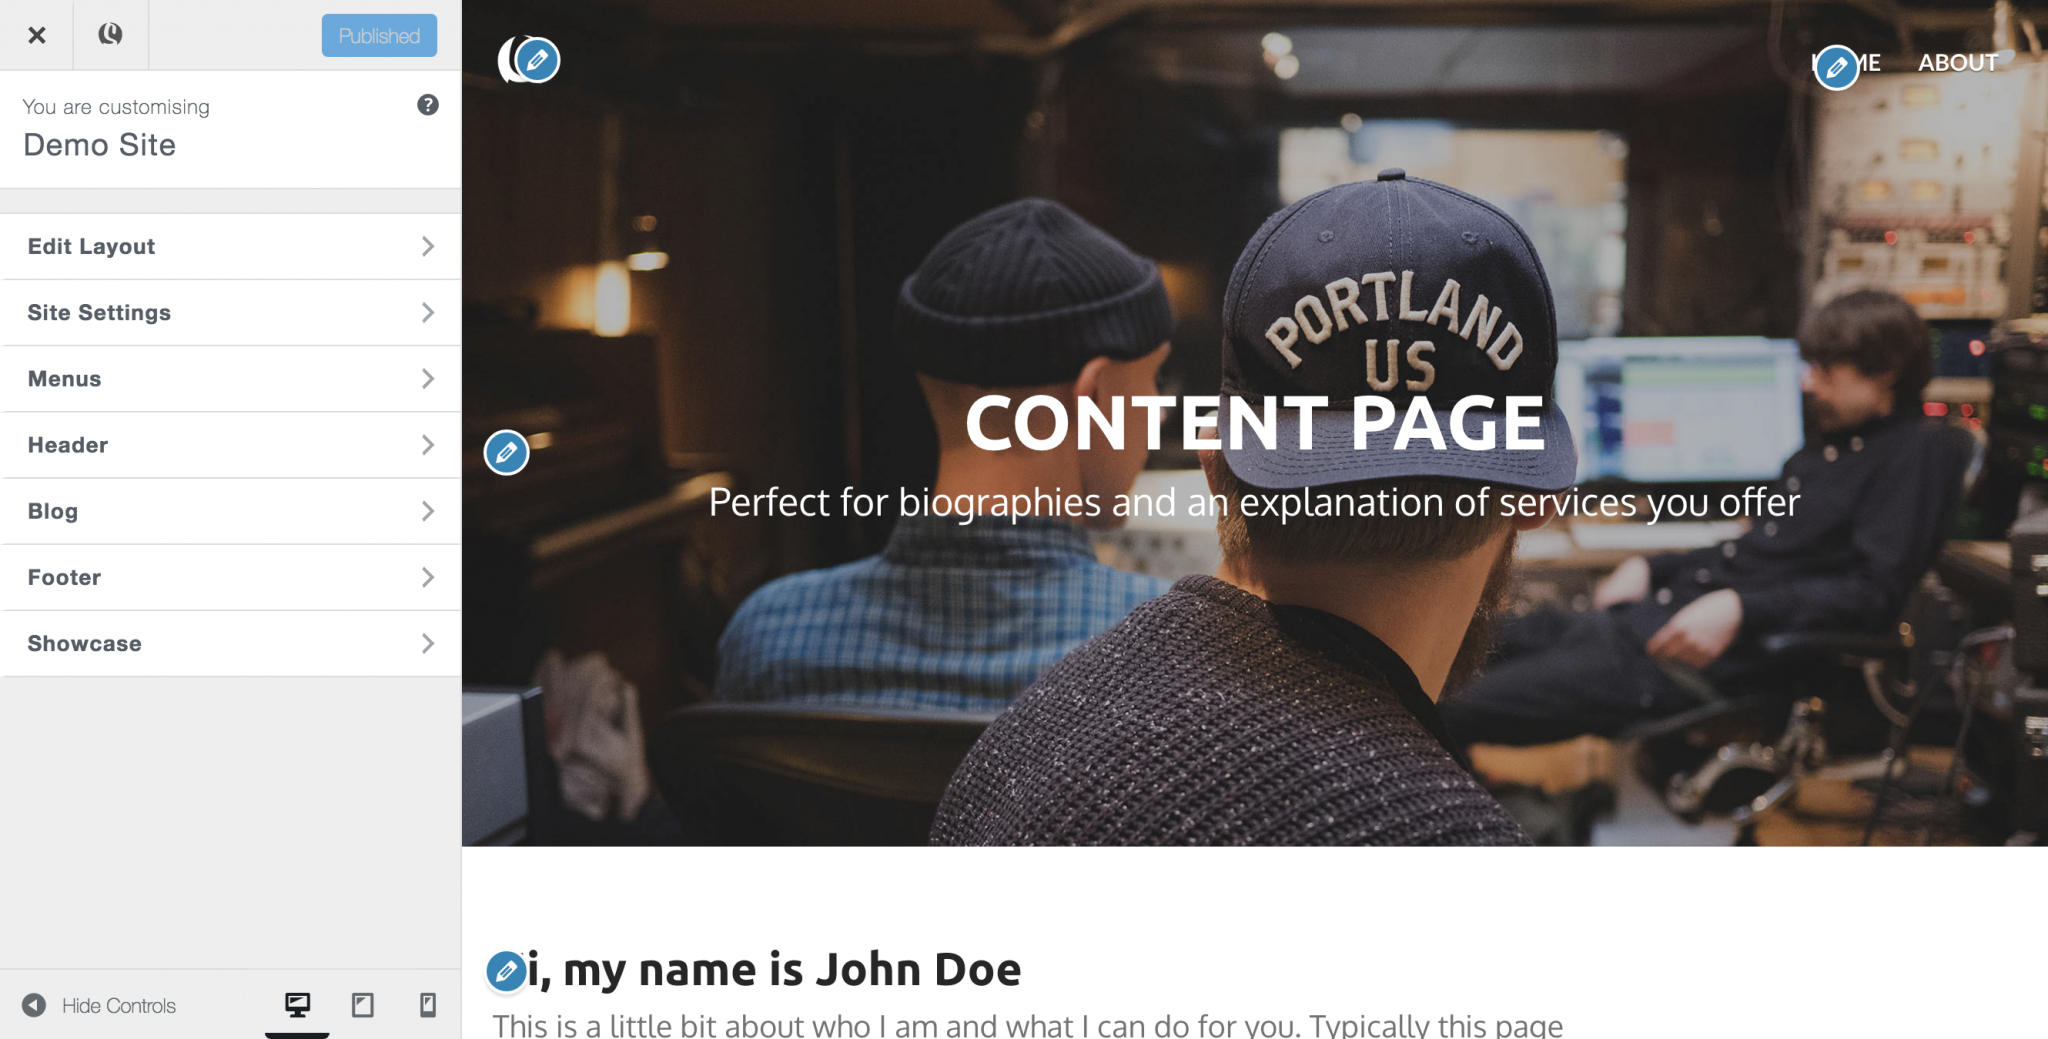
- Each widget has its own set of customizable options. To open the design settings for a widget, click on the blue pencil over the widget, or hold Shift + Click on the widget you wish to edit.
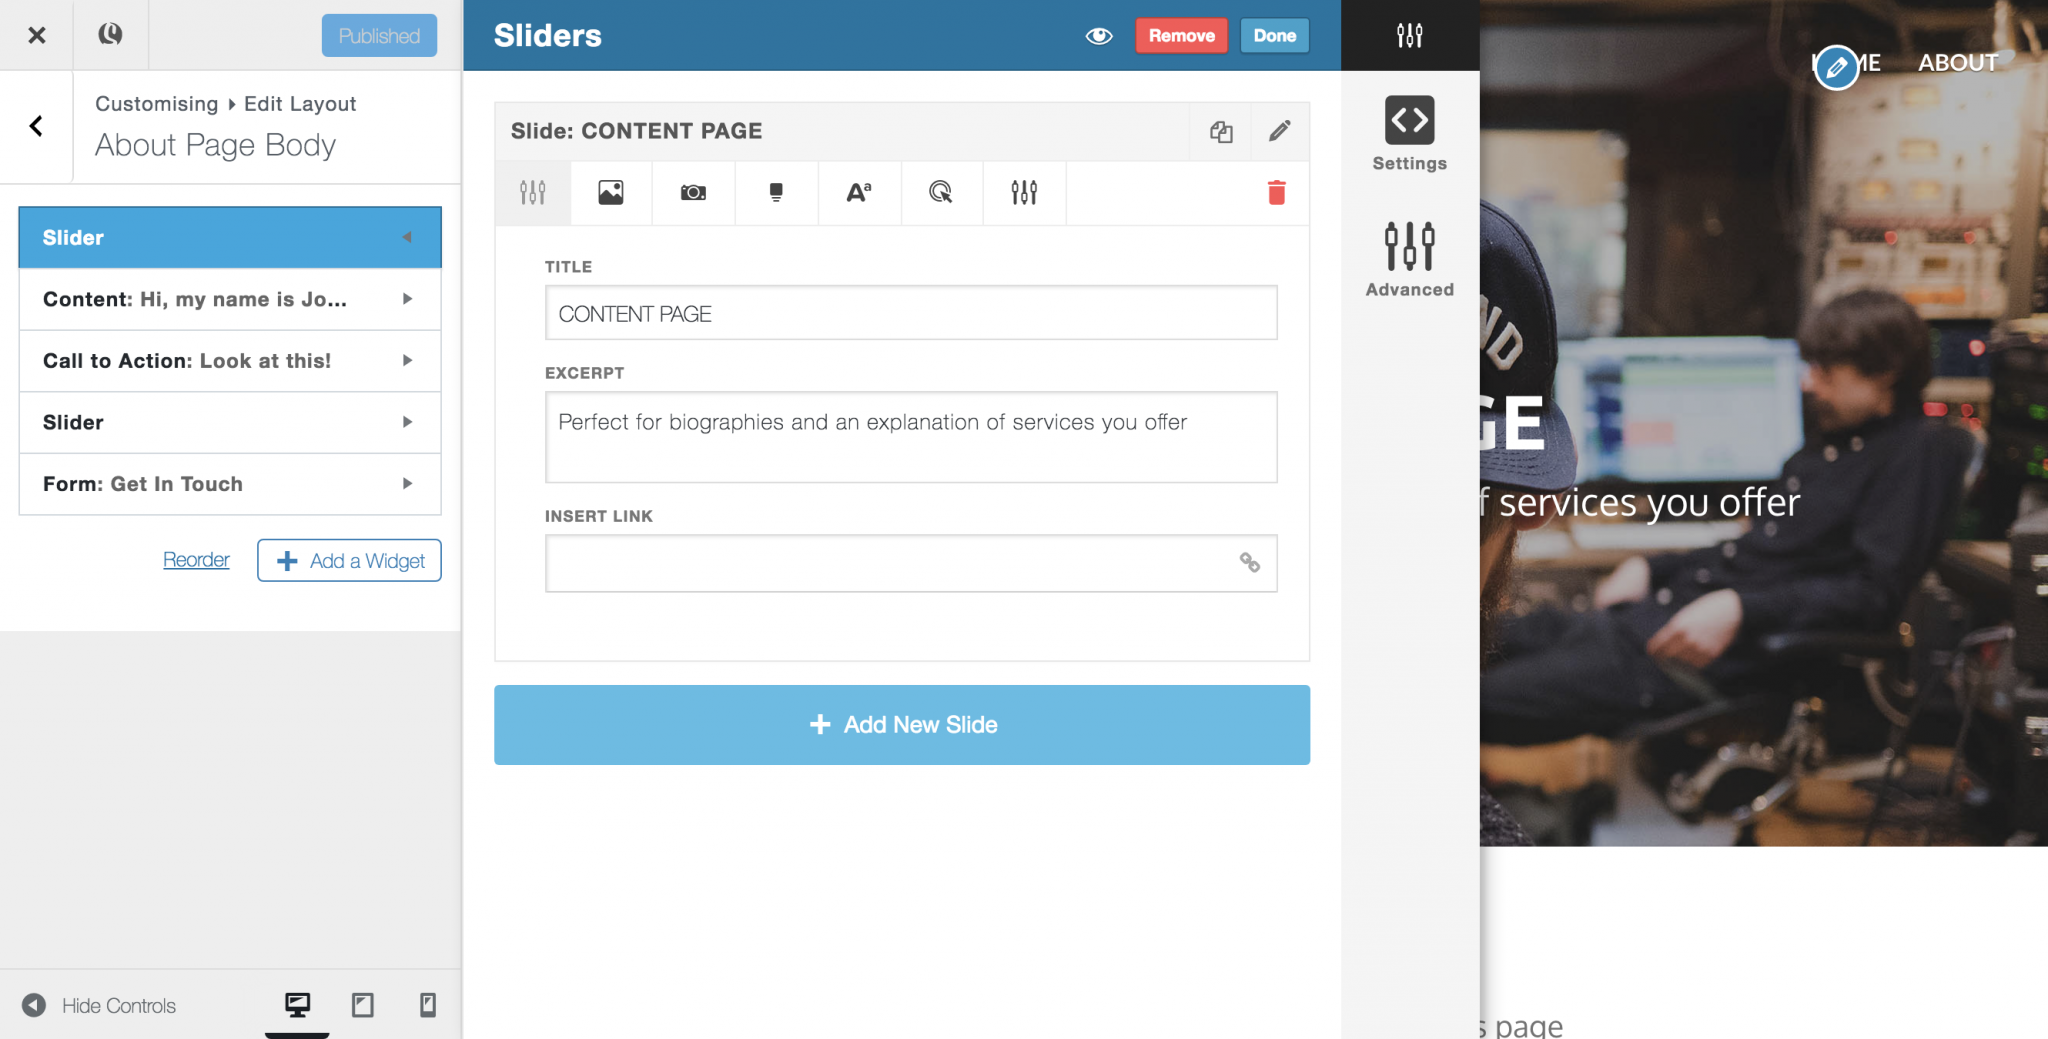
- A single widget will take up the entire width of your page, however, you can split a widget into several columns. Each column also has its own set of design options allowing you to style the background, text, buttons, add a featured image and change the column width
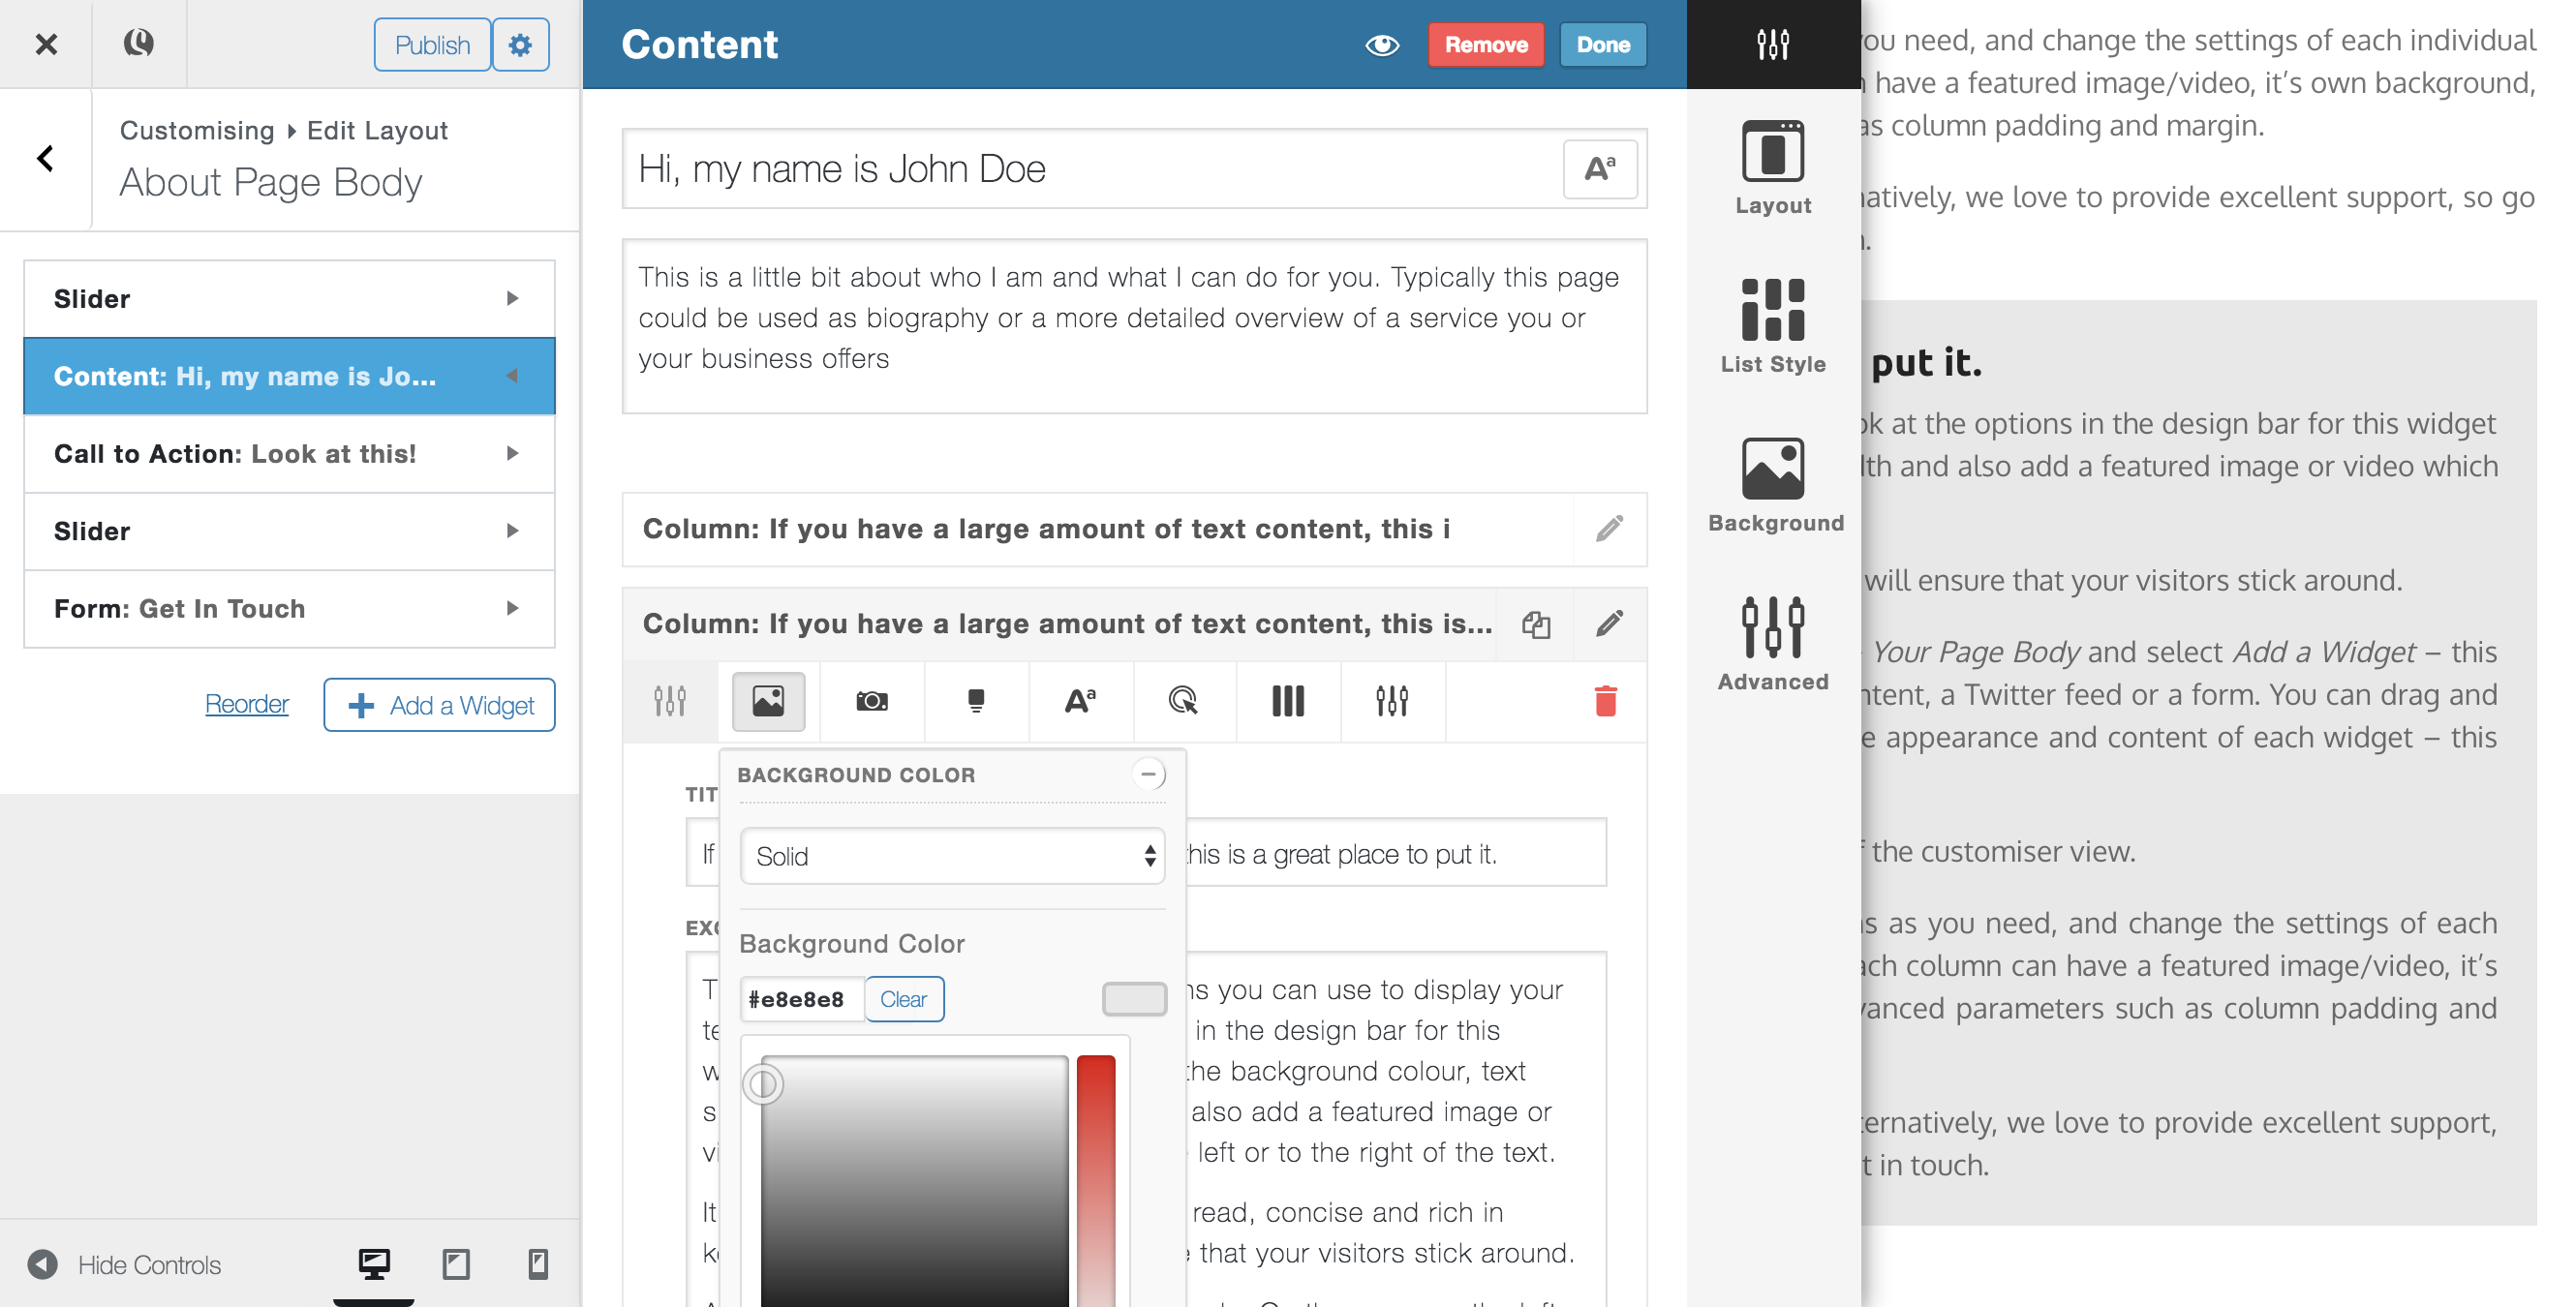
- On the right-hand side of the widget settings panel, there are several design options that will take effect over the entire widget. This is useful if you want to, for example, change the background of the whole widget rather than individual columns

- Changes to your widget settings will update almost immediately, however, they won’t be live on your website until you hit Publish in the top left of the customizer