Creating Projects
The Skizzar projects tool is a great way of creating a portfolio showcase of your work. Projects works in a very similar way to blogging, so if you are familiar with our blogging feature, this will be a walk in the park for you!
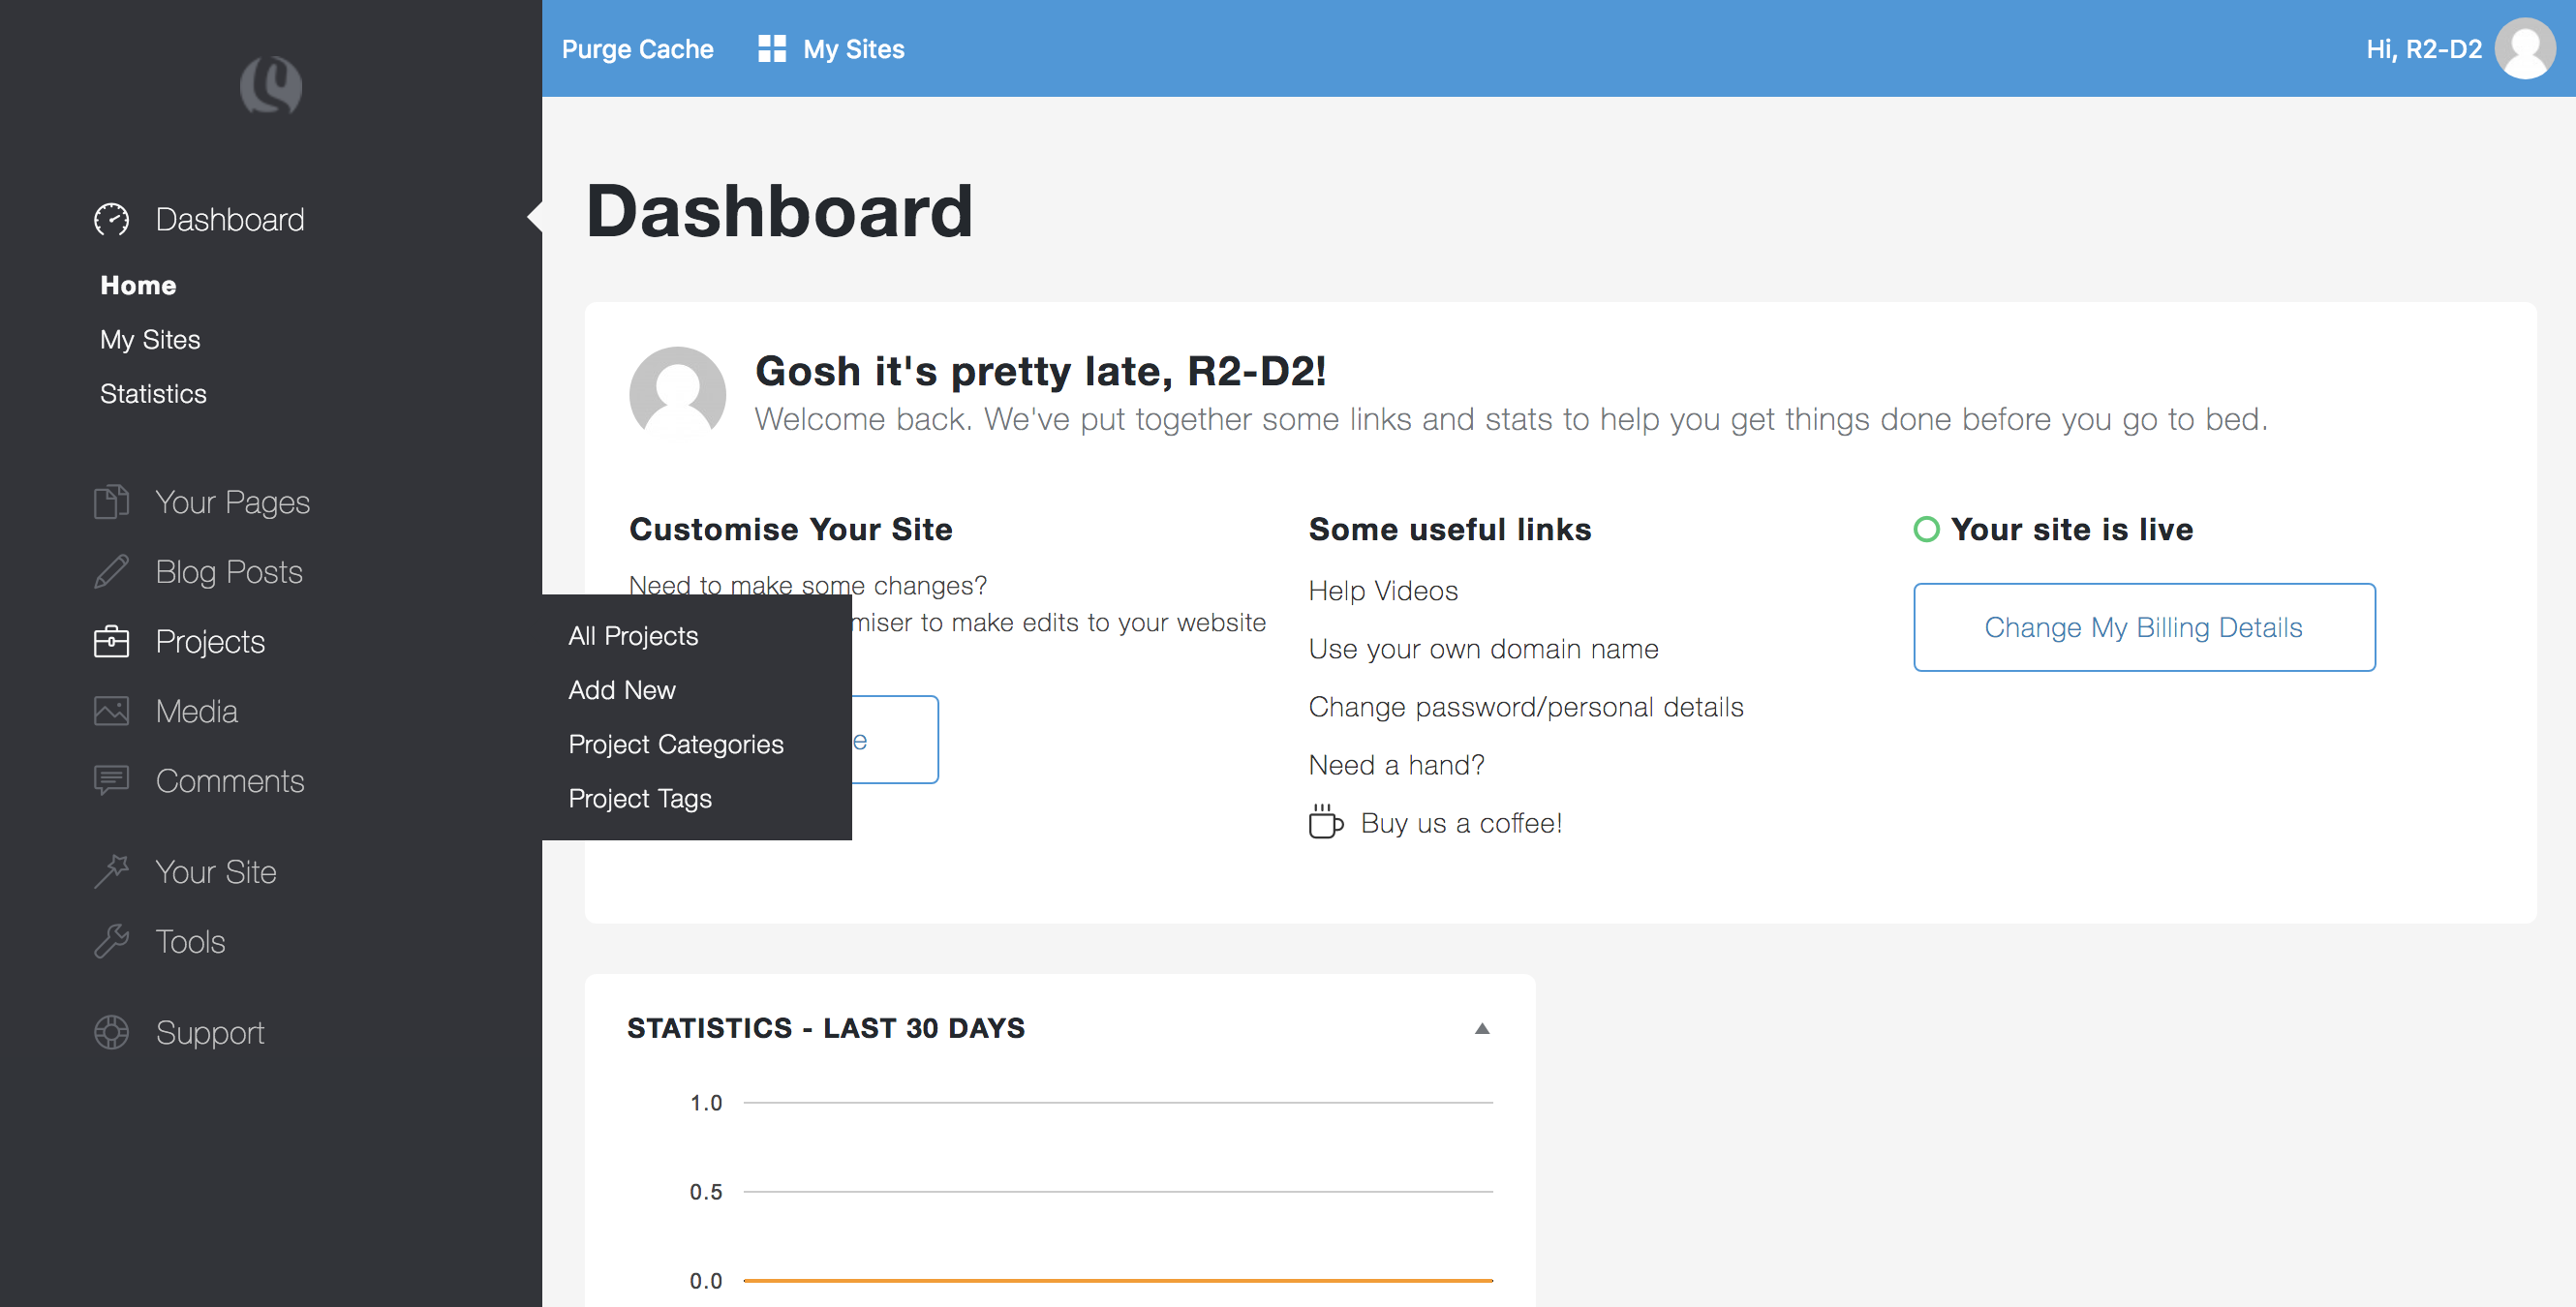
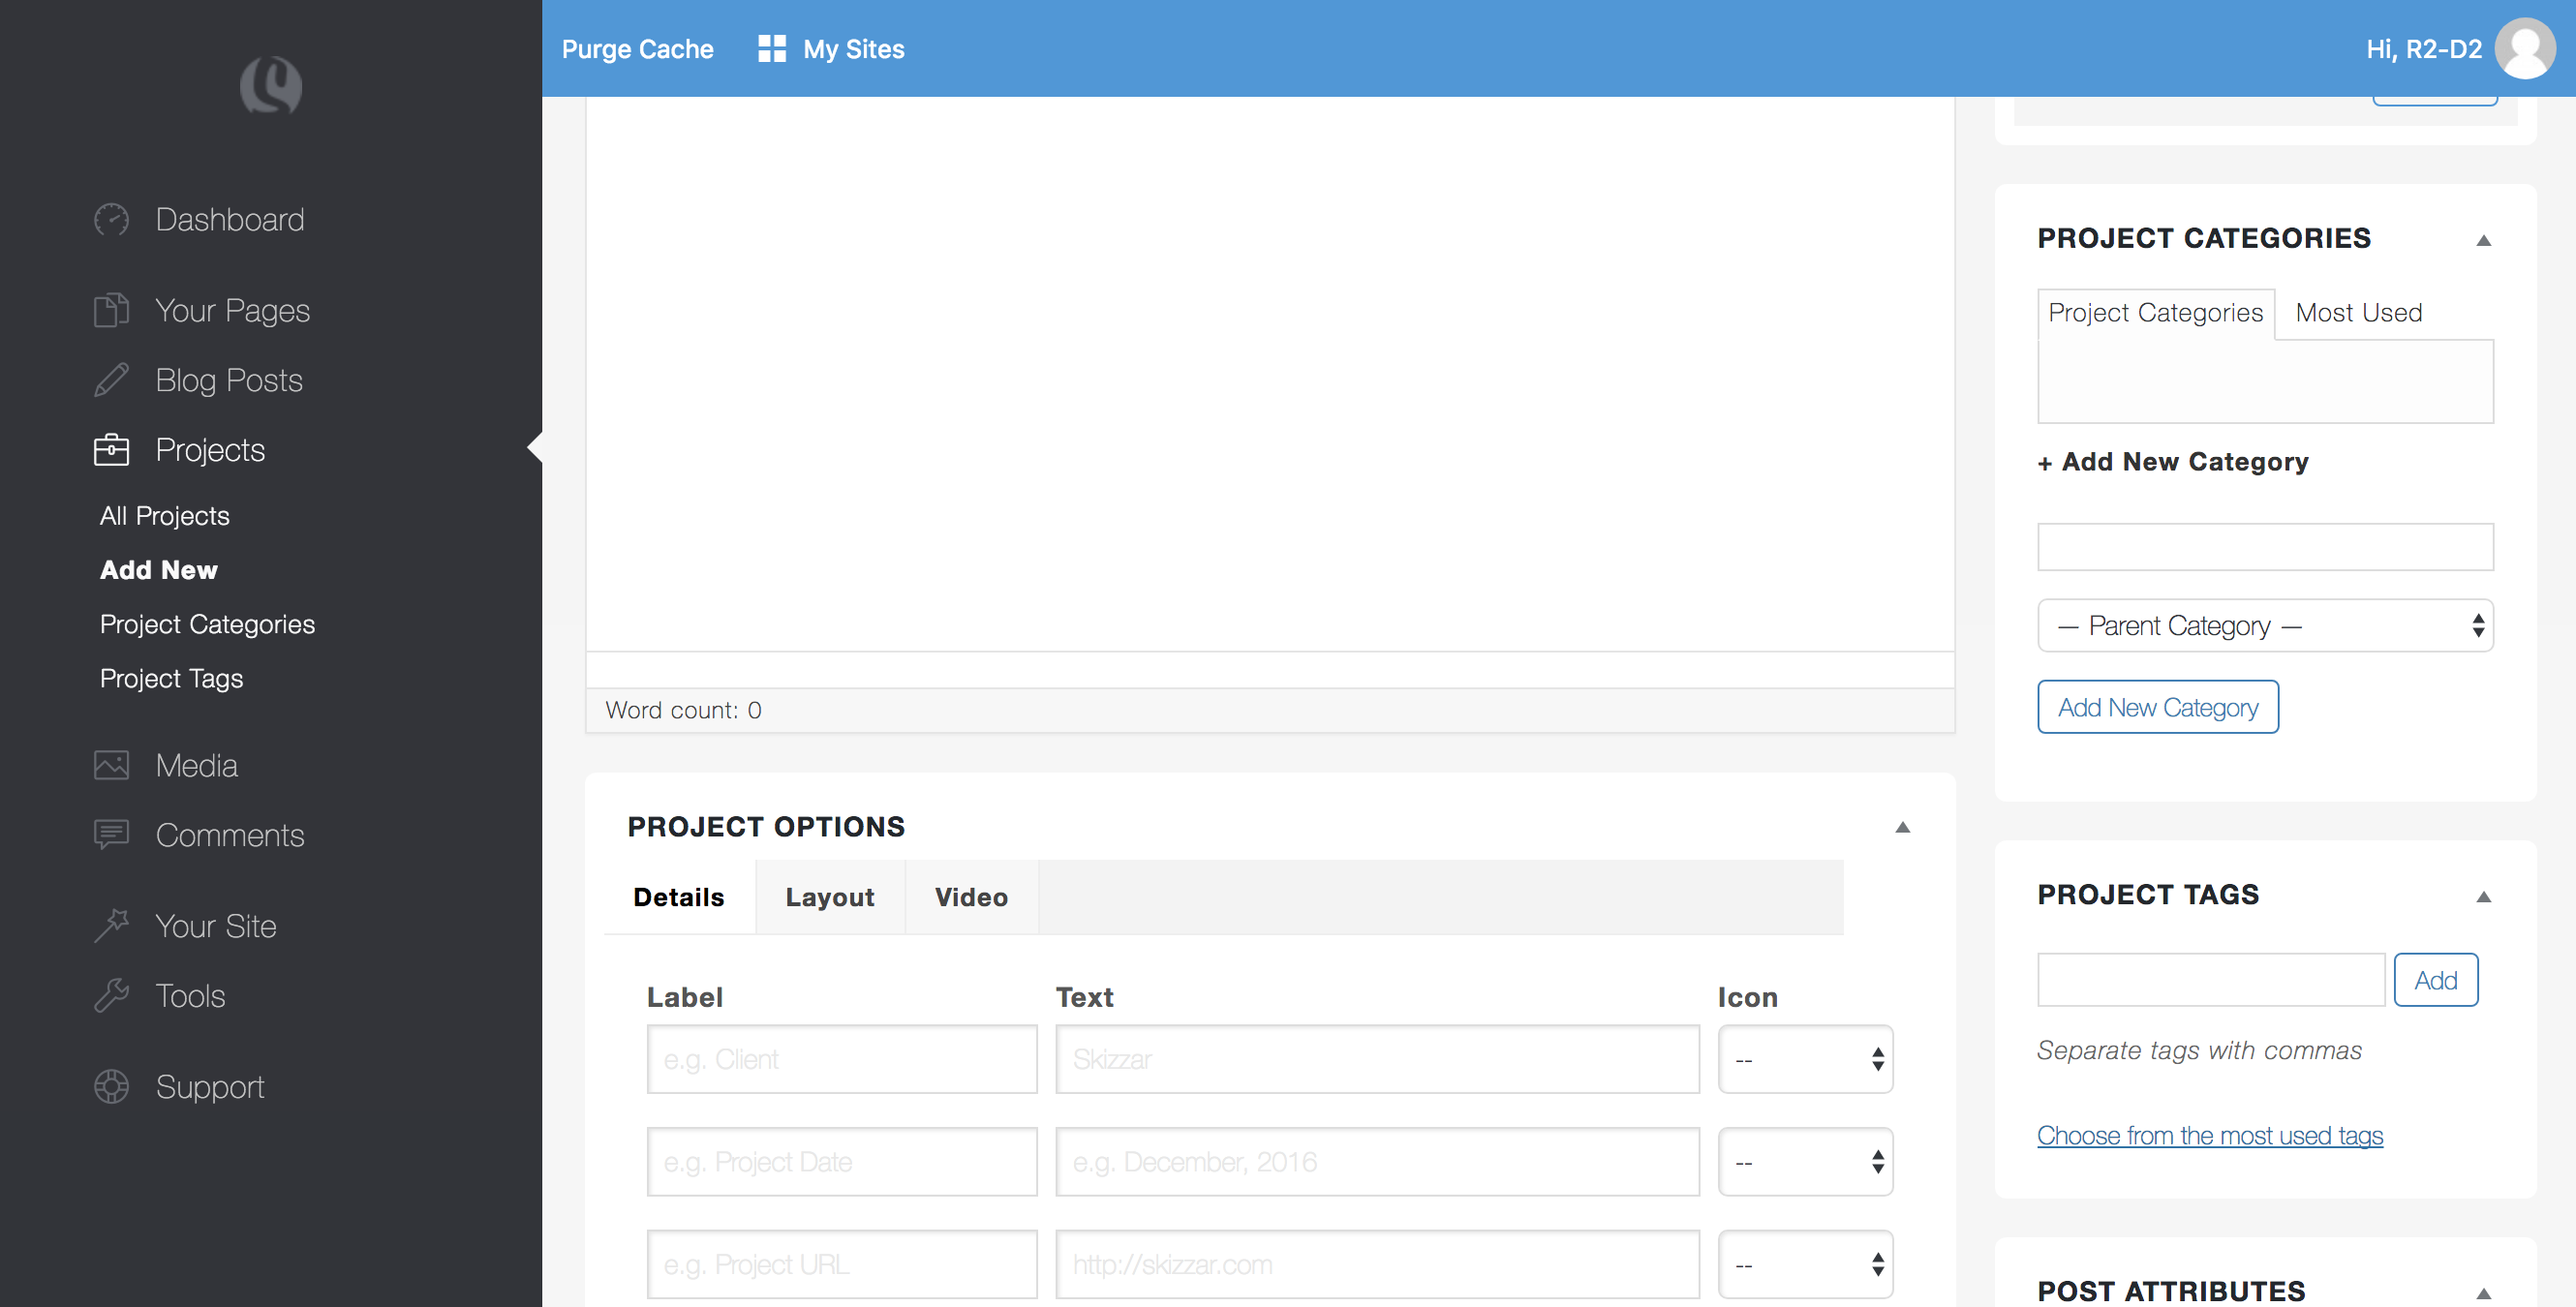
- From the dashboard, navigate to Projects > Add New Project to get started
- Give your project a title and write up a description of your project. There are a whole bunch of text editor options available to you, allowing you to insert links, change the text size (use the drop down to select different heading styles), insert media (including videos and an image gallery) and many other options.
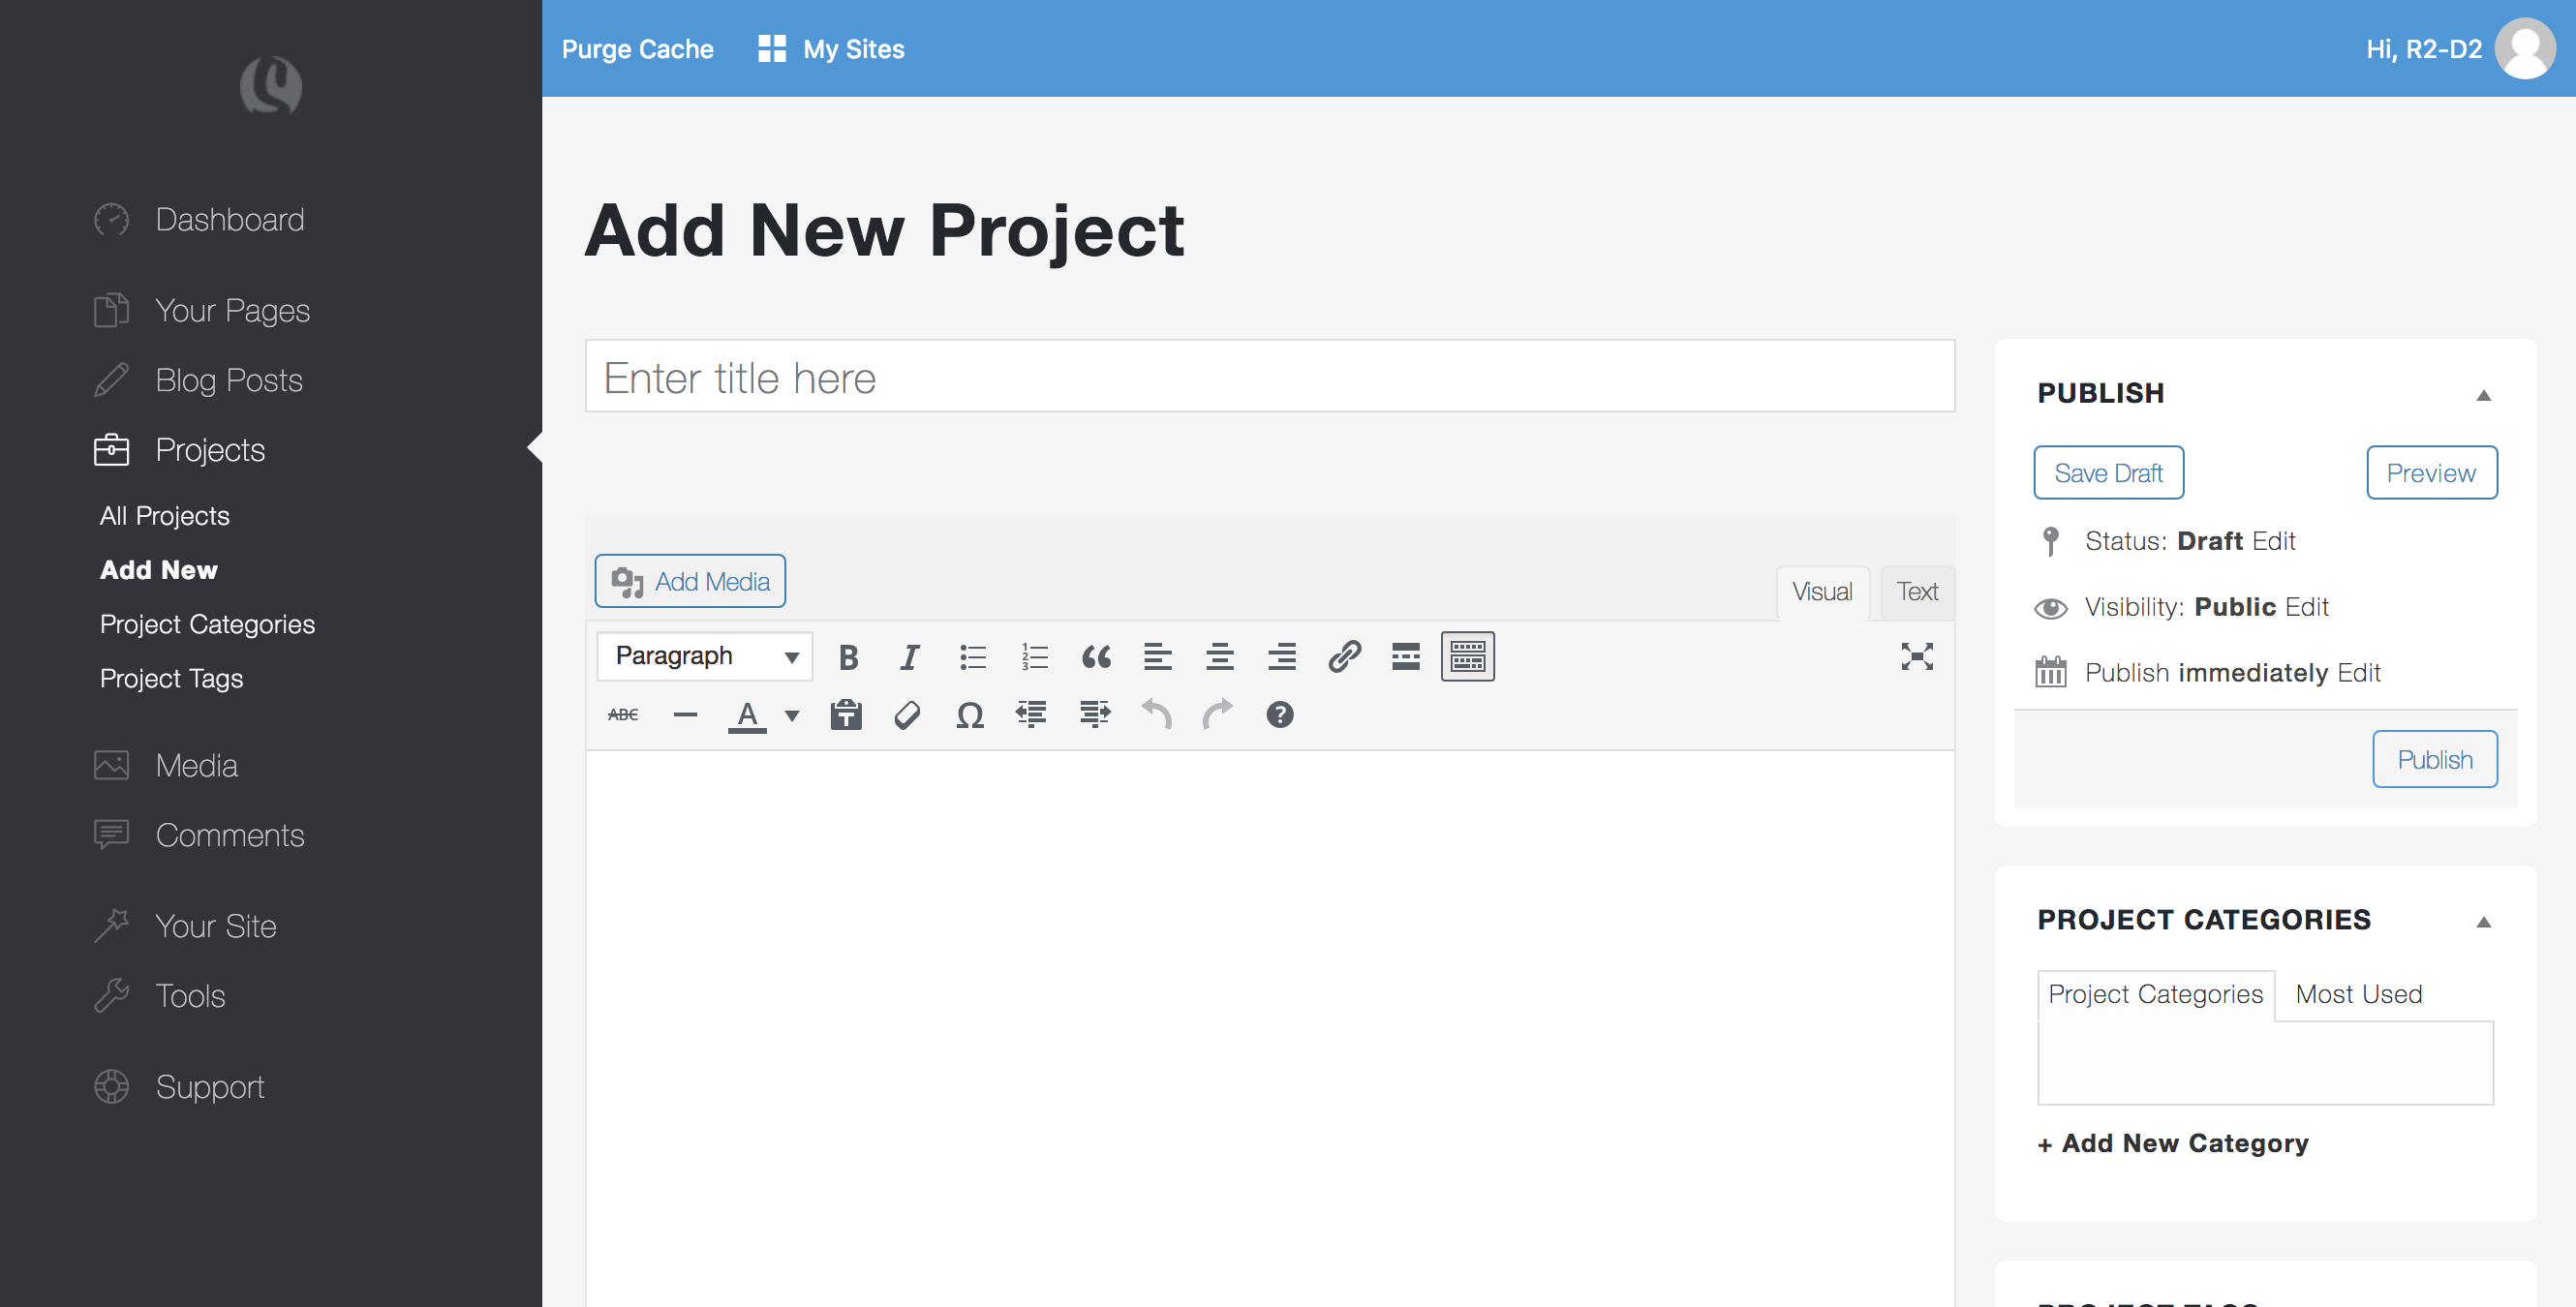
- Once you’ve written about your project, you can assign it to a category on the right of the page, write up a list of searchable tags for your project and upload a featured image (this image will be displayed when viewing a list of projects on your site, as well as being shown at the top of your individual project). Hit the publish button and you’re done with the writing part!
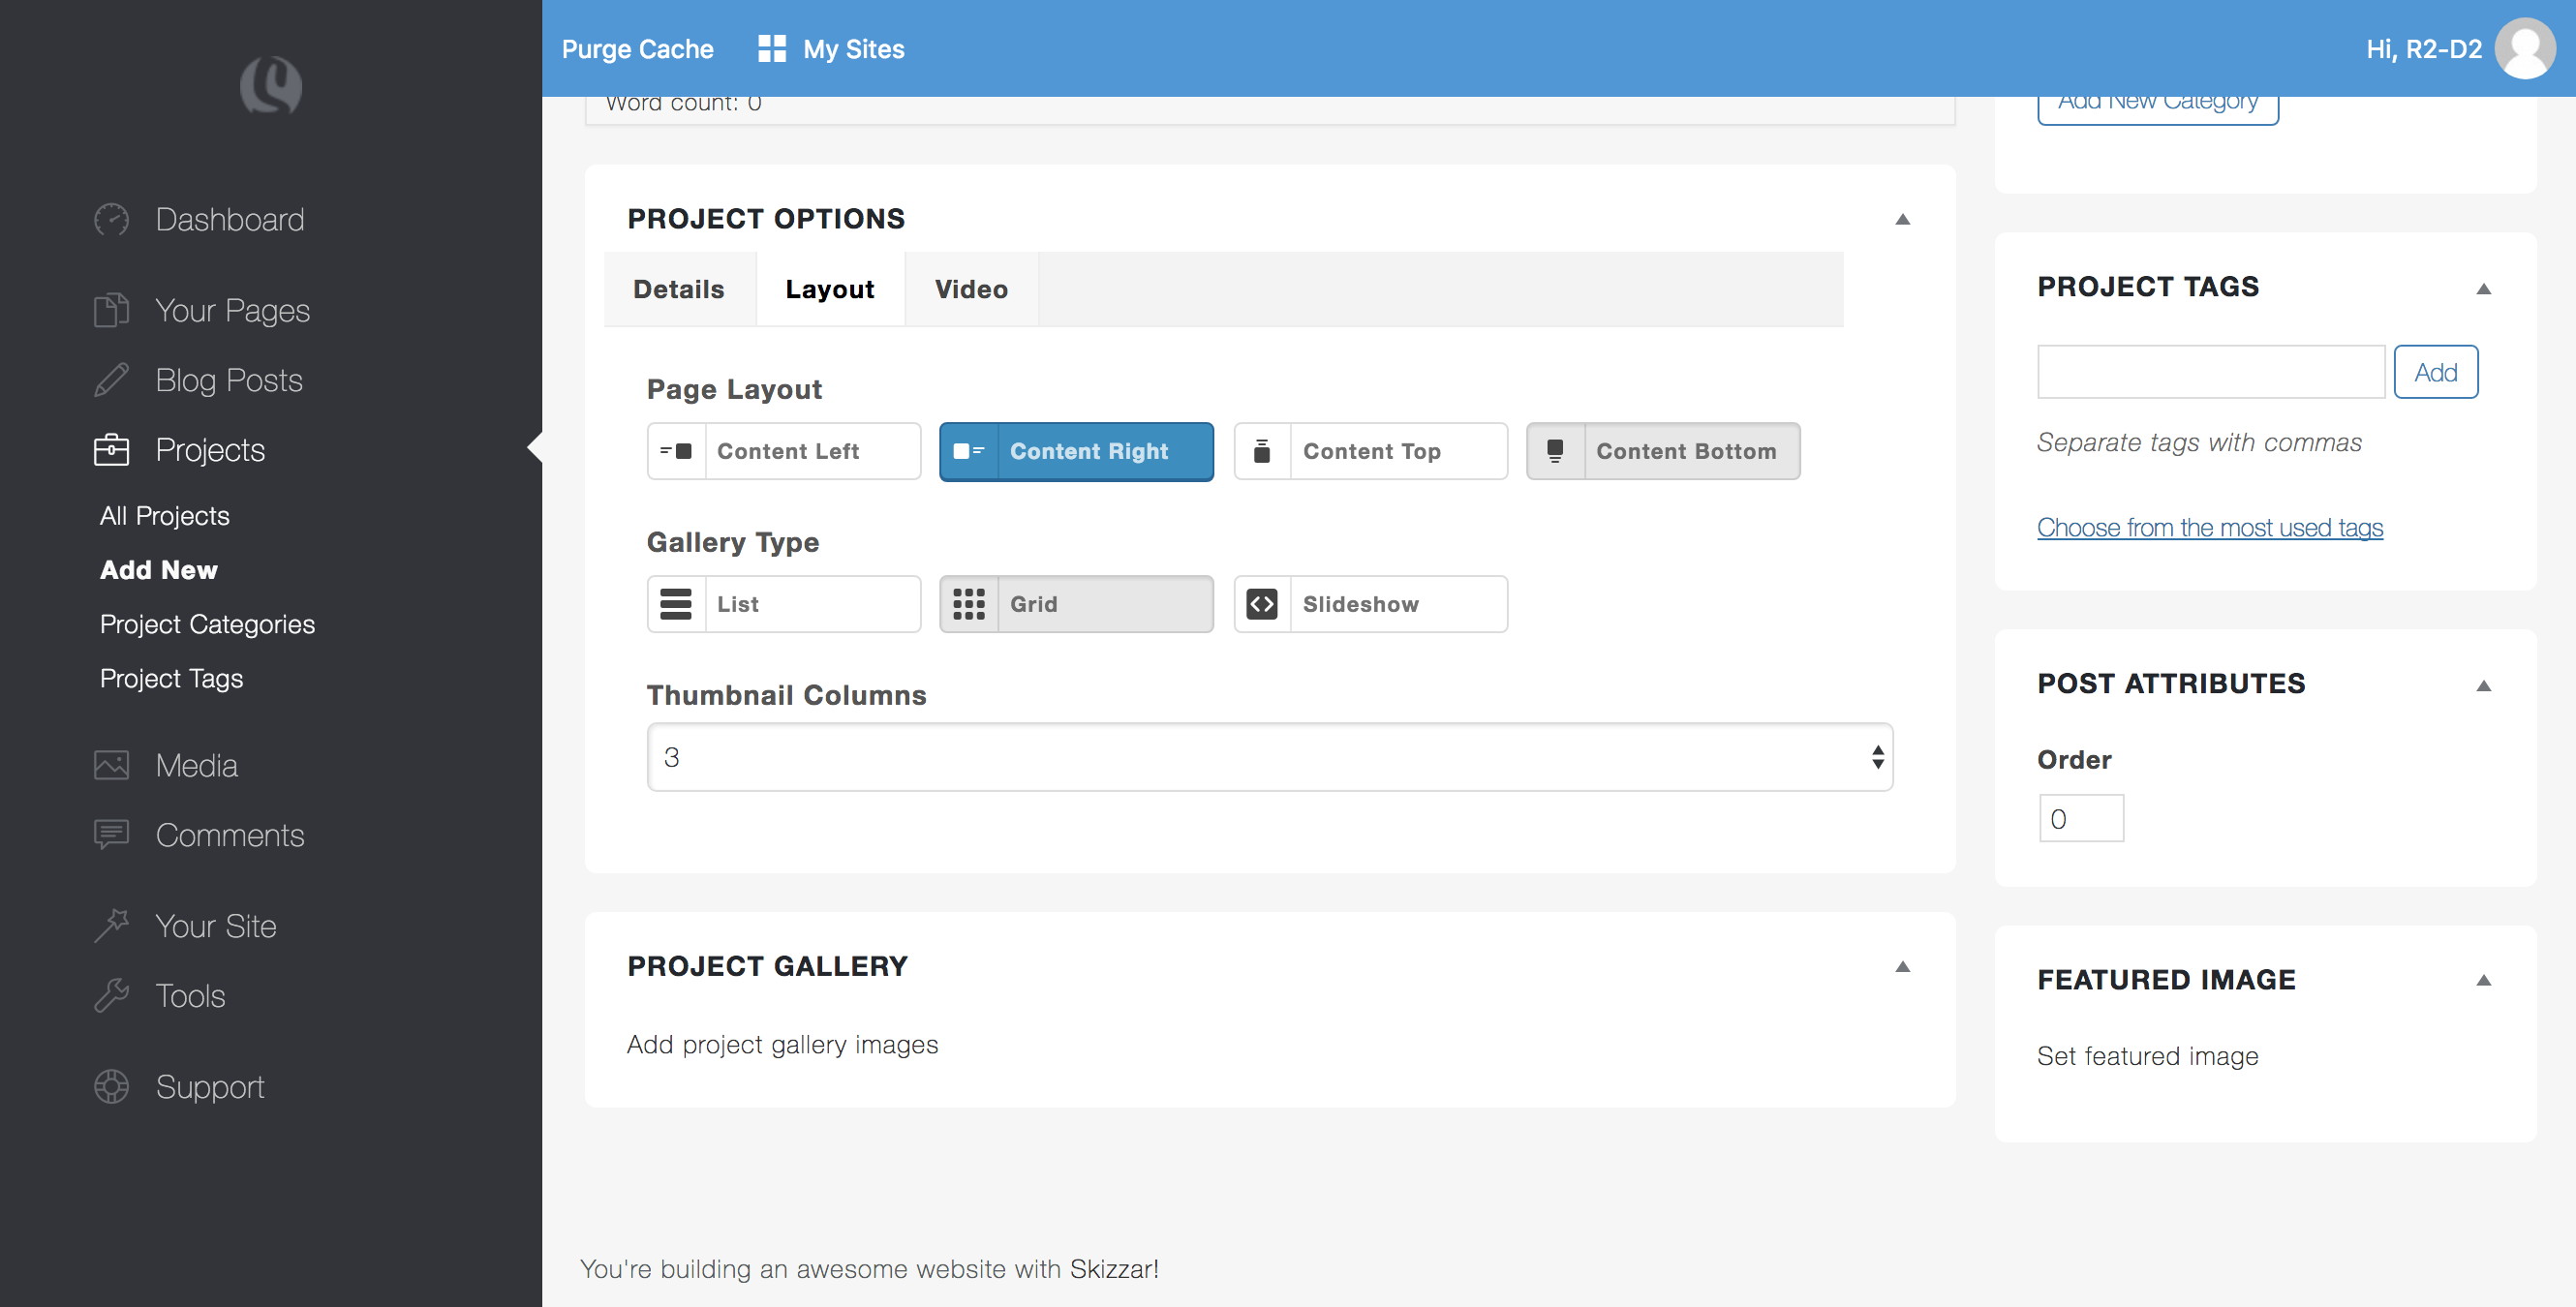
- The Projects feature allows for several layout options, custom details and a featured video link – all of which are editable within the project editor.
- Next step, you’ll need to create a page to display your projects on. Open the customizer by navigating to Your Site > Customizer from the dashboard, or if you want to create a new page for your projects, navigate to Your Pages > Add New Page from the dashboard
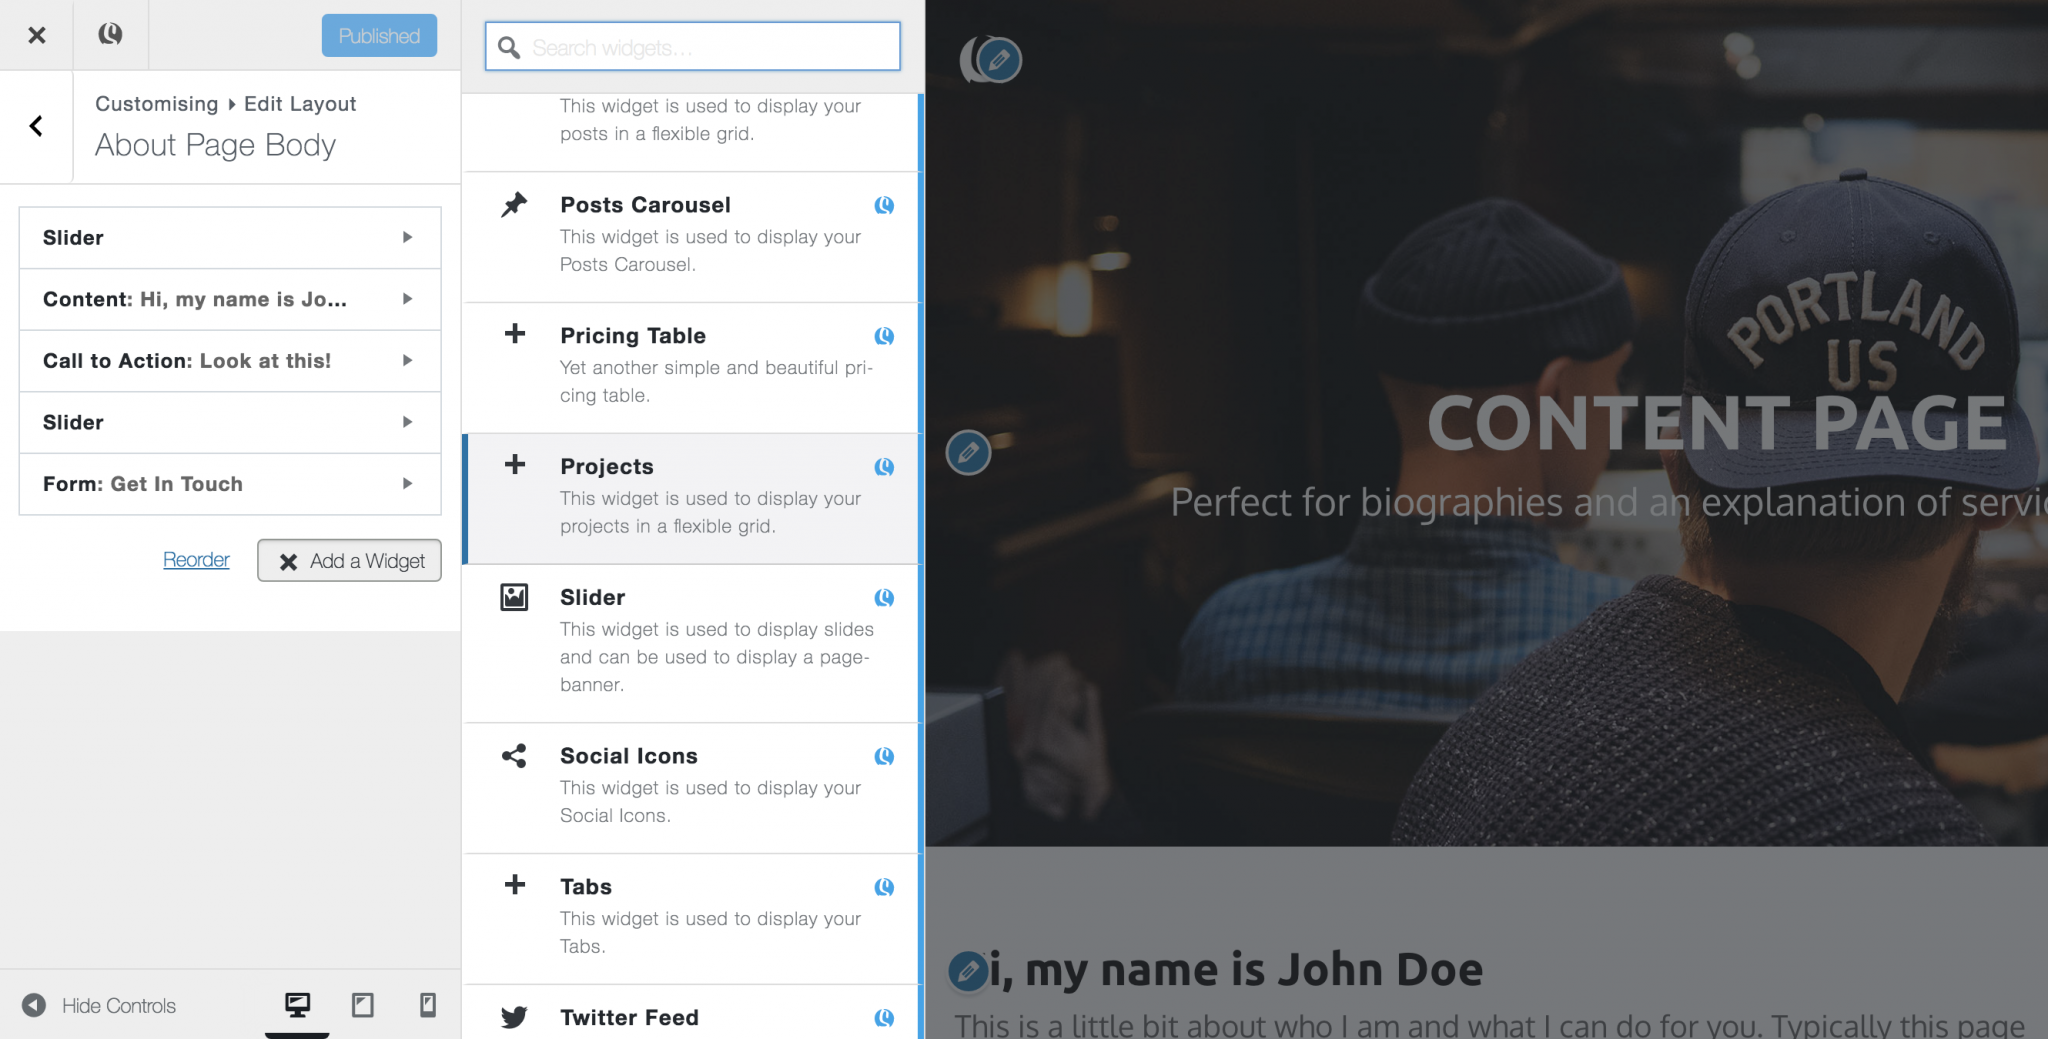
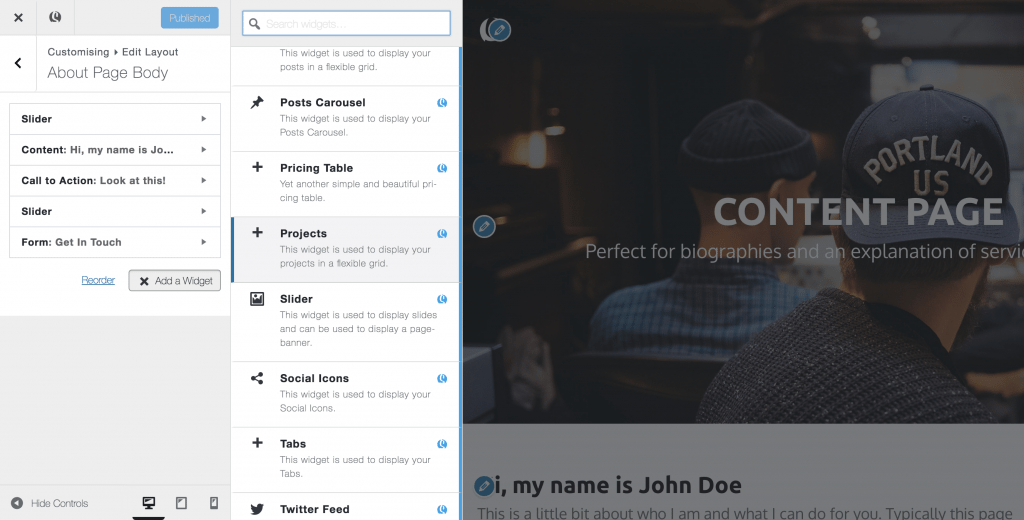
- Once in the customizer, you will need to add a Projects widget to your page – this widget provides several display options for listing your projects. Read more about adding widgets to pages here.